General Measurement System
It is the nature of human beings to measure things in order to understand them better, or to be able to make comparisons. We measure time in years, hours, minutes or seconds, distances in terms of kilometres, meters, centimetres or millimetres. Every single variable that we measure has its own units and is measured by some kind of tool. 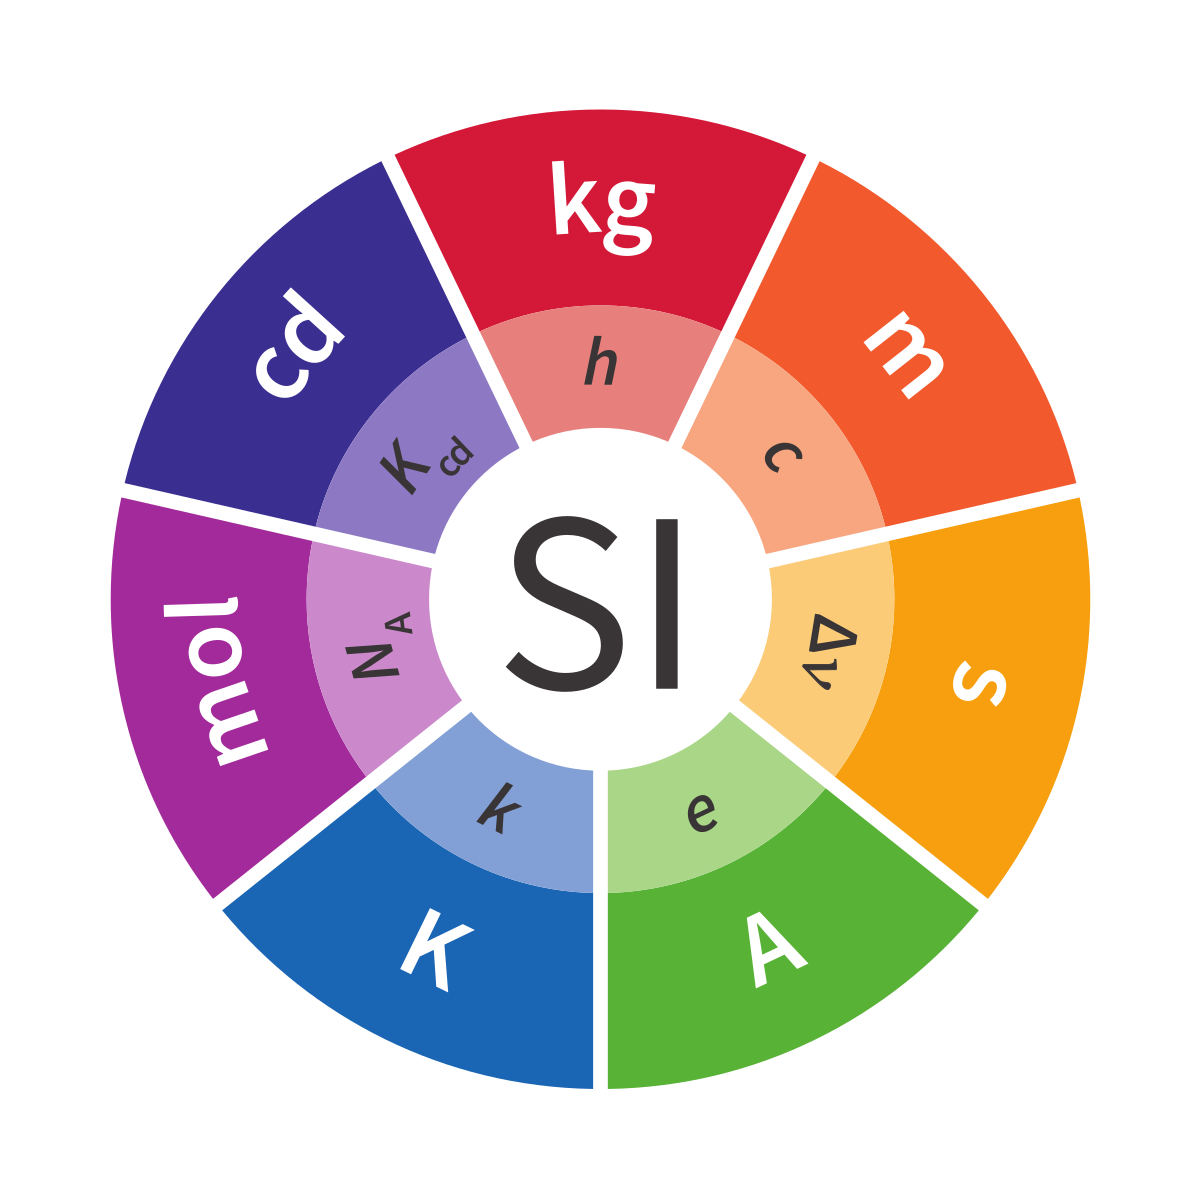
Calibration
The most commonly used measuring instrument is the ruler. The ruler is by nature very imprecise. Any other measuring instrument has to be calibrated to make sure that the results obtained are accurate. Just think of your wristwatch! Every now and again you set the time on your watch according to the time given on television or radio. You are in fact calibrating a measuring instrument.
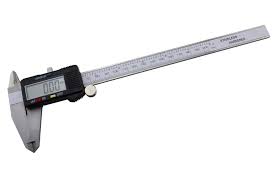
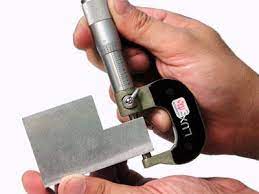
The Vernier and micrometer also need to be calibrated. When they are used a great deal, their measuring faces wear out. How can the user be sure that the measurement is correct? Let us take the Vernier as an example. If you close the Vernier completely you should get a reading of zero. If you do not get a reading of zero, you adjust a little screw at the back of the instrument until you do get zero. Now you know that your instrument is accurate. Any scale measuring mass is provided with some kind of standard. The standard is a block, usually of metal, of known mass. You simply place the standard on the scale and see what reading you get. If the reading is different to what the standard is supposed to be, then you adjust the scale until the reading is correct. Complicated measuring equipment can be calibrated periodically by the manufacturer, or it can be adjusted by the South African Bureau of Standards (SABS). You will then be supplied with a certificate of calibration. Calibration is so important, that you can win or lose court cases based on the correctness of your measuring apparatus. For example, you are entitled to ask for proof of calibration of the machines that police use for setting speed traps. Any laboratory result will only be declared accurate if the laboratory calibrated its measuring equipment.
Static Calibration
The most common type of calibration is known as a static calibration. The term "static" refers to a calibration procedure in which the values of the variables involved remain constant during a measurement, that is, they do not change with time. In static calibrations, only the magnitudes of the known input and the measured output are important. An example is a mass scale.
Dynamic Calibration
In a broad sense, dynamic variables are time dependent in both their magnitude and frequency content. The input-output magnitude relation between a dynamic input signal and a measurement system will depend on the time-dependent content of the input signal. When time-dependent variables are to be measured, a dynamic calibration is performed in addition to the static calibration. A dynamic calibration determines the relationship between an input of known dynamic behaviour and the measurement system output. Usually, such calibrations involve either a sinusoidal signal or a step change as the known input signal.
Click here to view a video that explains dynamic recalibration.
Accuracy
The accuracy of a system can be estimated during calibration. If we assume that the input value is known exactly, then the known input value can be called the true value. The accuracy of a measurement system refers to its ability to indicate a true value exactly. By definition, accuracy can be determined only when the true value is known, such as during a calibration.
Precision and Bias Errors
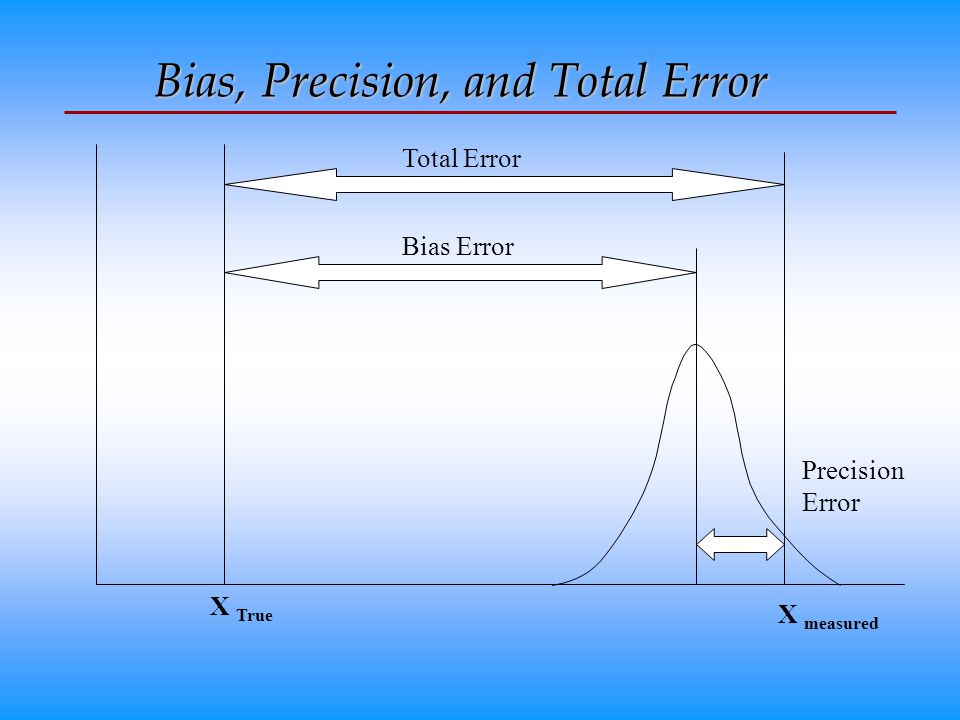
The repeatability or precision of a measurement system refers to the ability of the measuring instrument to give the same result again and again and again. If a measuring instrument always provides the same wrong value every time, then the instrument is considered to be precise, but not accurate. The average error in a series of repeated calibration measurements defines the error measure known as bias. Bias error is the difference between the average and true values. Both precision and bias errors affect the measure of a system's accuracy. The concepts of accuracy, and bias and precision errors in measurements can be illustrated by the throw of darts. Consider the dart board of Figure 6 where the goal will be to throw the darts into the bull's-eye. For this analogy, the bull's-eye can represent the true value and each throw can represent a measurement value.
In Figure 6(a), the thrower displays good precision (i.e., low precision error) in that each throw repeatedly hits the same spot on the board, but the thrower is not accurate in that the dart misses the bull's-eye each time. This thrower is precise, but we see that low precision error alone is not a measure of accuracy. The error in each throw can be computed from the distance between the bull's-eye and each dart.
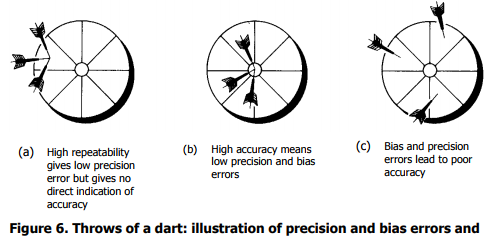
The average value of the error yields the bias. This thrower has a bias to the left of the target. If the bias could be reduced, then this thrower's accuracy would improve. In Figure 6(b), the thrower displays high accuracy and high repeatability, hitting the bull's-eye on each throw. Both throw scatter and bias error are near zero. High accuracy means low precision error and low bias errors as shown. In Figure 6(c), the thrower displays neither high precision nor accuracy with the errant throws scattered around the board.